 Top view
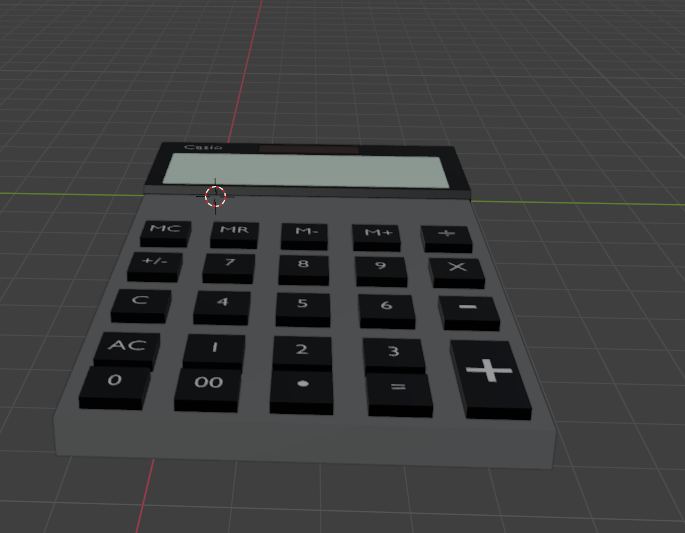 Front view
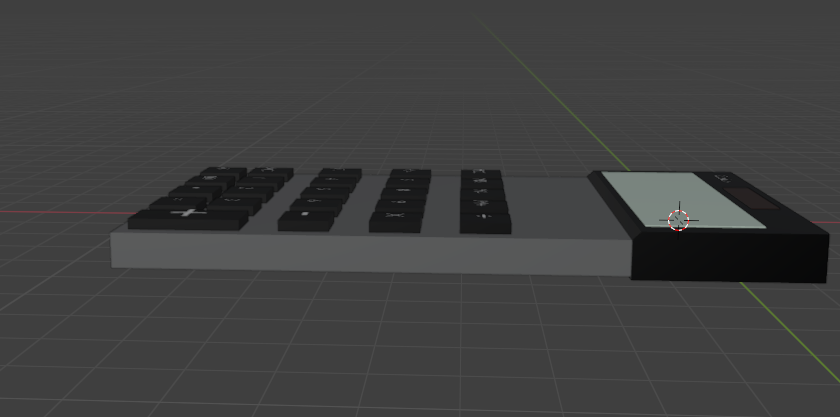 Side view
During the process of making this calculator I did forget to take pictures along the way. To summarize my process in words, first I made a cube, and stretched it out to make the base of the calculator. I then made the screen part of the calculator with another cube using the same technique as when I made the base. Then, I decided to write Casio on the top of the calculator. Next, I put in colour on the screen and on the top black part of the calculator. I proceeded to make the mini solar panel at the top and coloured it in. I beveled the edge of the black part of the calculator to make it more sloped. Then I went through the task of copy and pasting the buttons which were also cubes. I adjusted some of the buttons to certain size. I finished off by adding the numbers corresping to the calculating, and colouring the buttons black and the text white. I used the next image as reference.
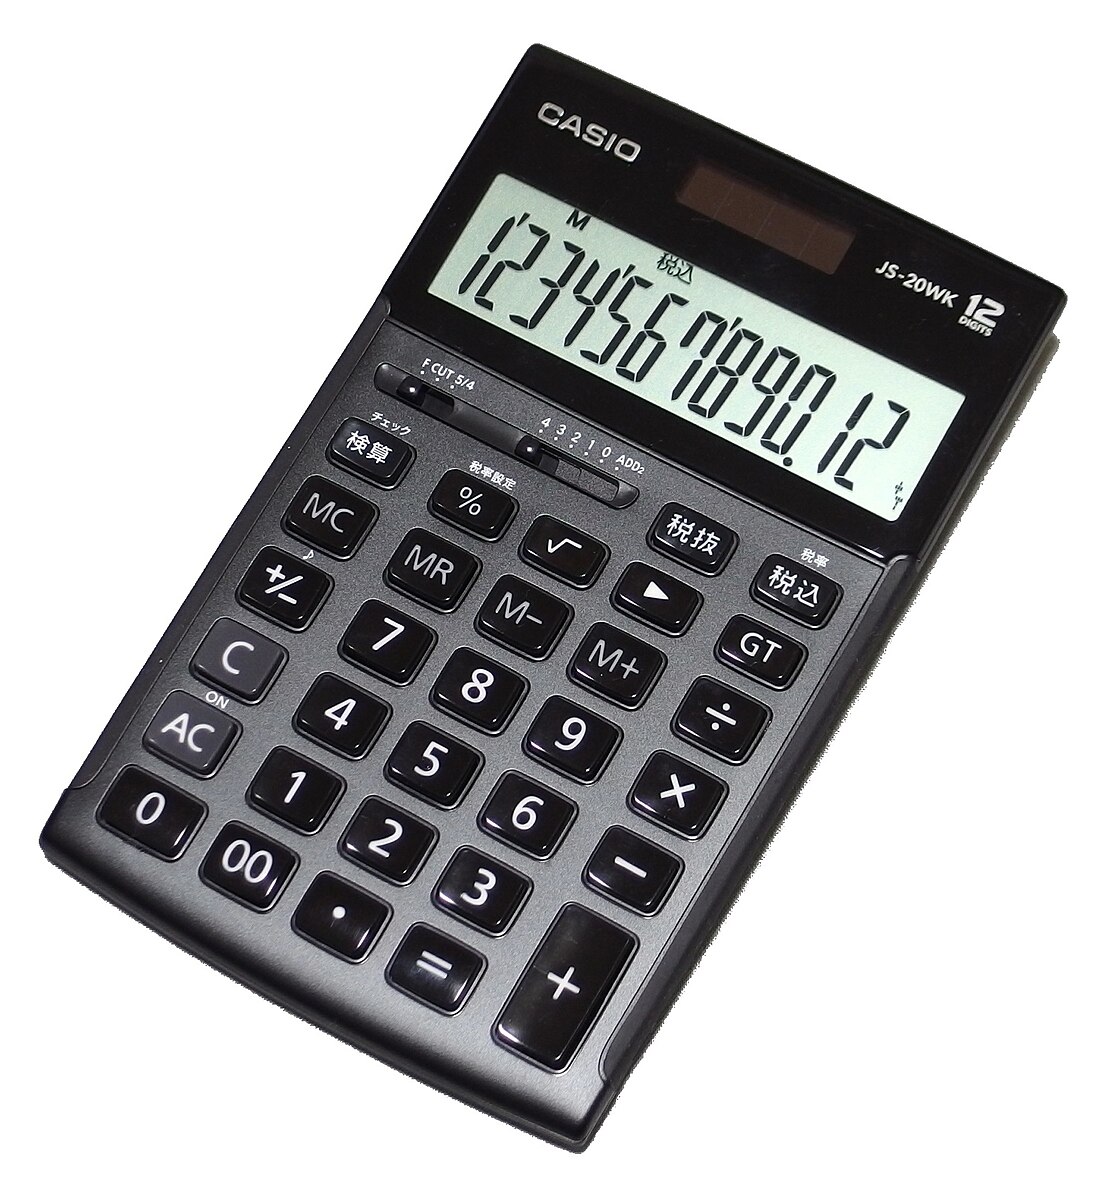 Reference Image
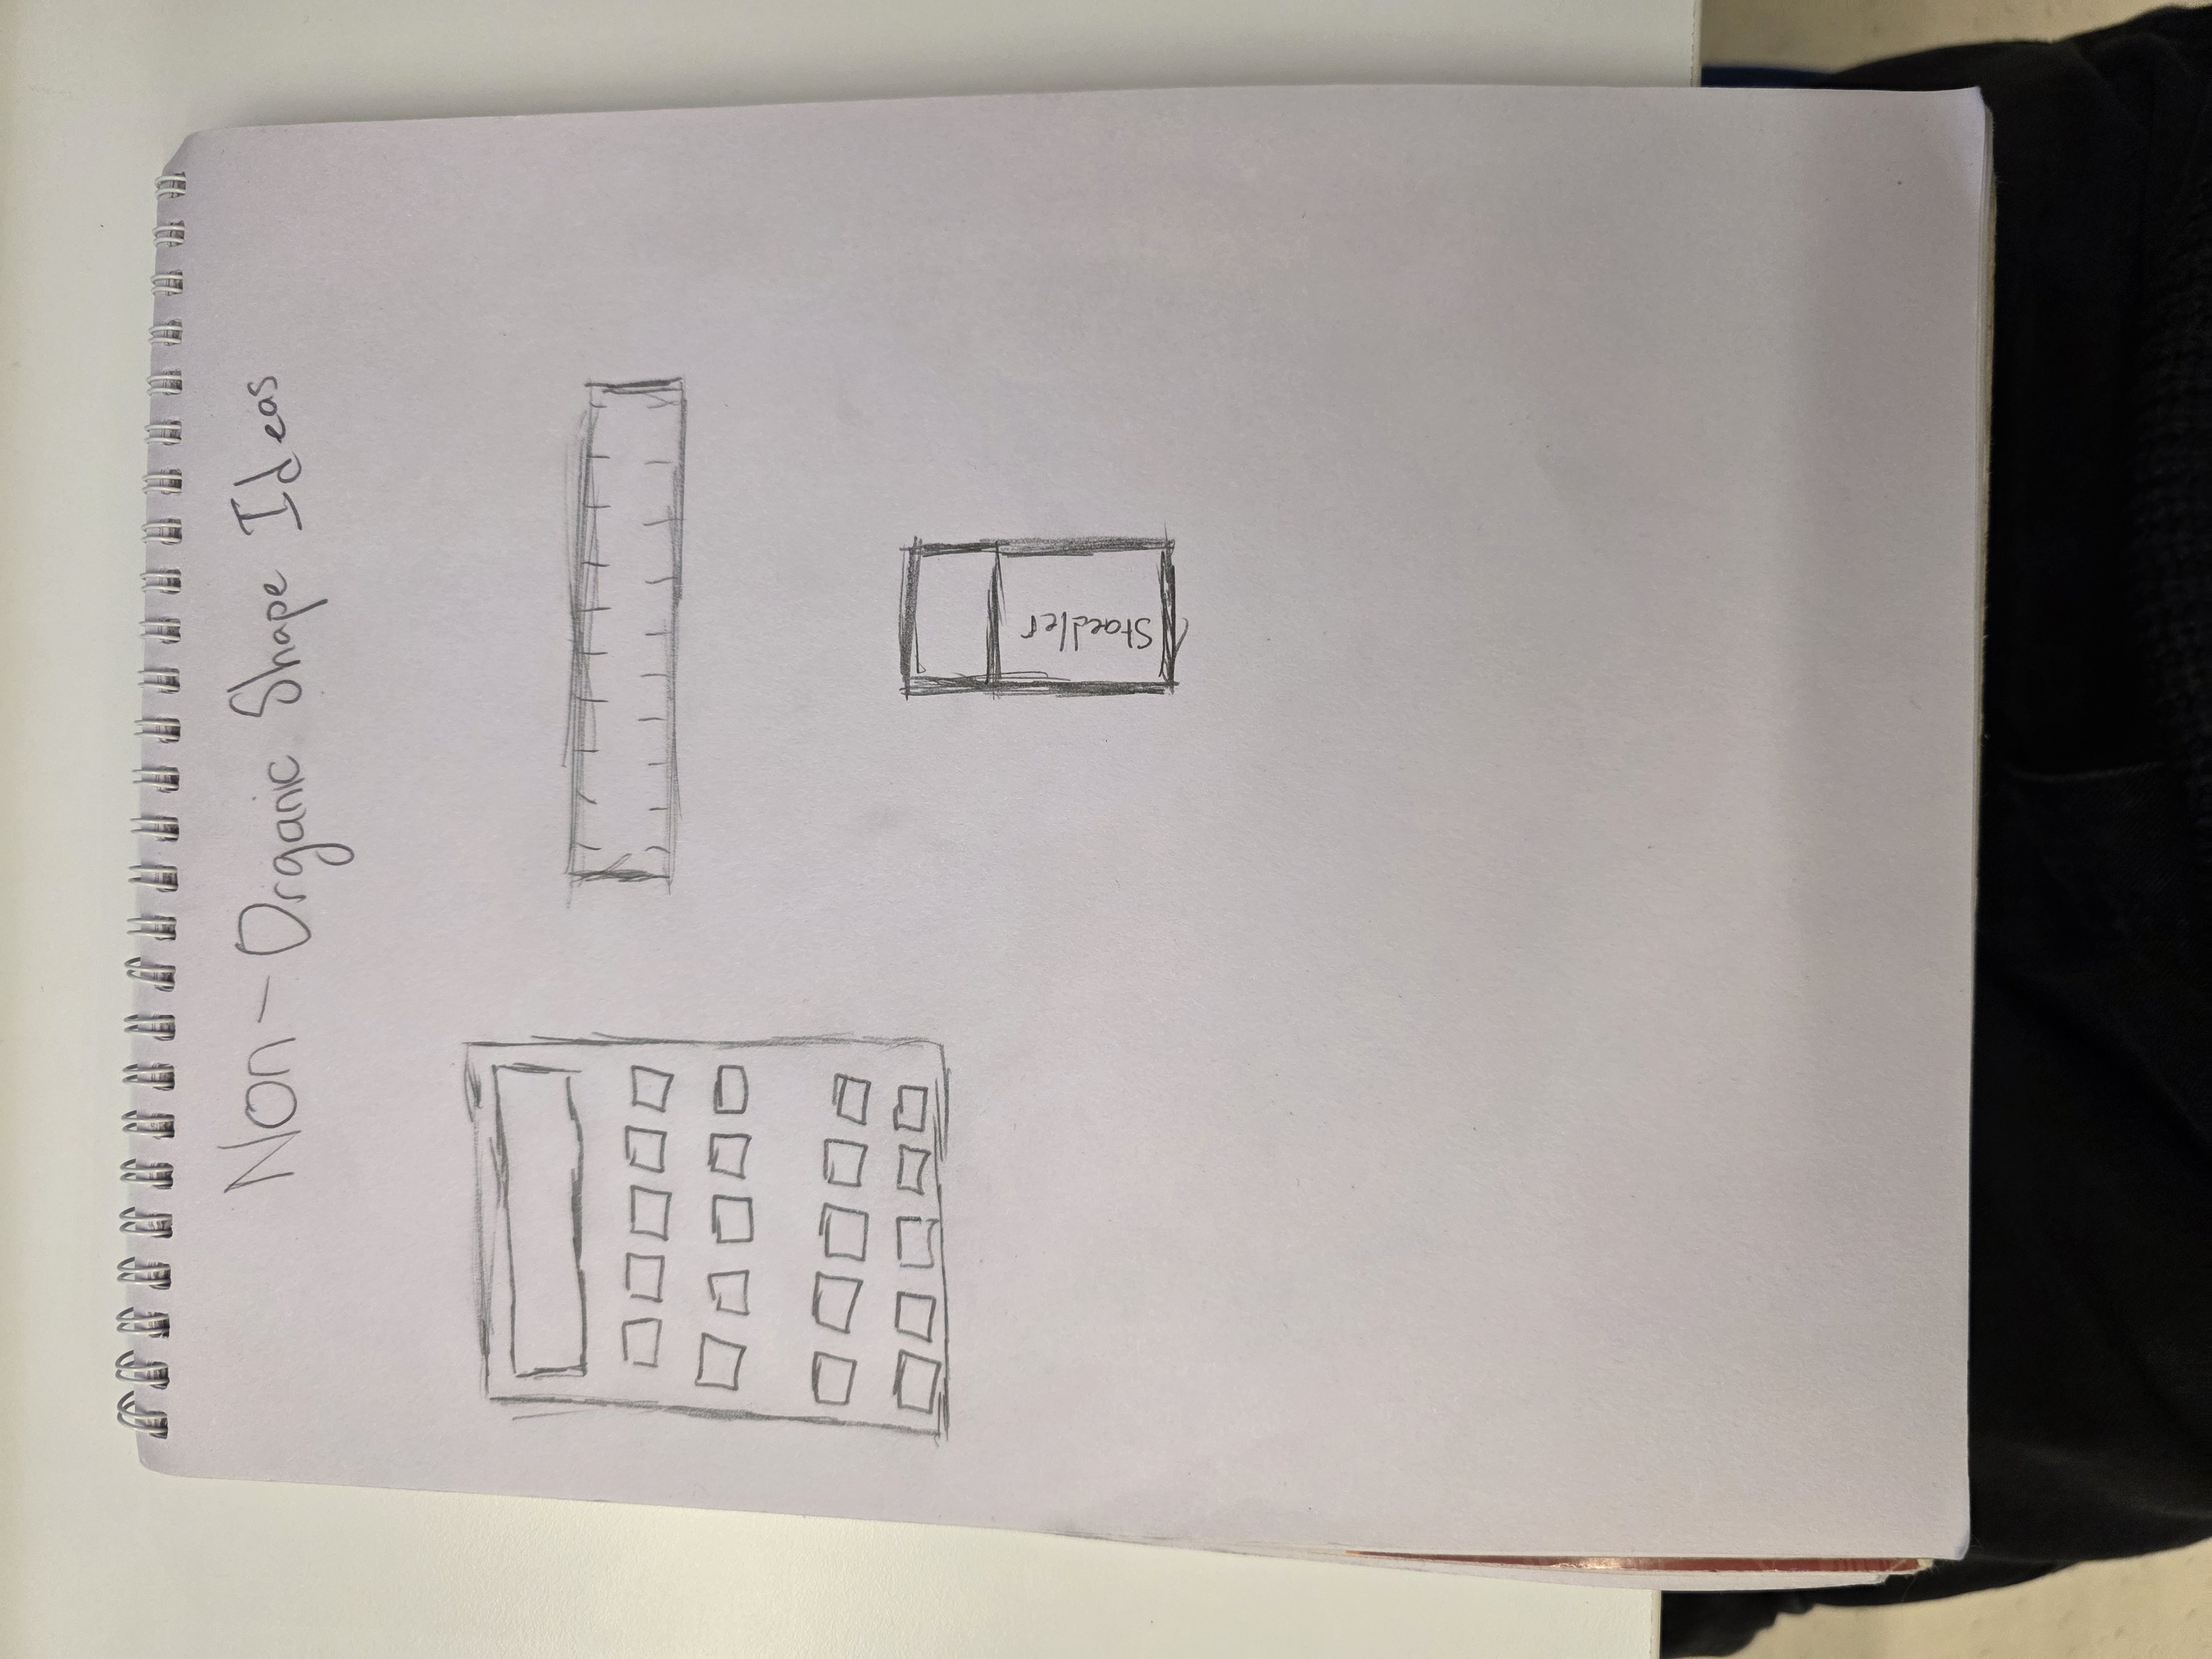 Sketch